Installation Instructions
LibreOffice is easy to install.
Below are step-by-step instructions for macOS, Linux and Windows. See Other Versions for information on various other installation methods and platforms.
macOS
First check the system requirements before installing LibreOffice on macOS.
- Download the .DMG file from the download page.
- Open the .DMG file by double-clicking on it.
- An installation window appears: drag and drop the LibreOffice icon onto the Applications icon in the same window. You may be required to enter your administrator password.
- The files are copied over and a progress bar shows when the installation is complete.
- If needed, you may now download and install the language pack(s) of your choice and built-in help by downloading the .DMG file of your choice. The installers for these are launched from inside their .DMG files.
Linux
As a general rule, you are advised to install LibreOffice via the installation methods recommended by your particular Linux distribution (such as the Ubuntu Software Center, in the case of Ubuntu Linux). This is because it is usually the simplest way to obtain an installation that is optimally integrated into your system. Indeed, LibreOffice may already be installed by default with your Linux operating system. Detailed information is available on the wiki.
In short, you will be able to download LibreOffice packages tailored to your system’s packaging standard (RPM or deb), or even get a .tar.gz archive for LibreOffice. You will then need to install these packages, first the main LibreOffice binaries, then the additional components such as language packs and built-in help.
Windows
Before starting the installation process, check the System Requirements page for the prerequisites for installing LibreOffice on a Windows system.
Enterprise and government users: please check the deployment and migration information page.
You do not have to uninstall any previously installed version of LibreOffice. If you do have an existing installation of LibreOffice, all your preferences will be preserved and that old installation will simply be overwritten.
1. Main Program
1.1 Download
If you are unsure which Windows version you have, press ⊞ Win+Pause to open your system properties window. On the LibreOffice download page you can select a built-in help file for your language.
You are invited to give an optional donation.
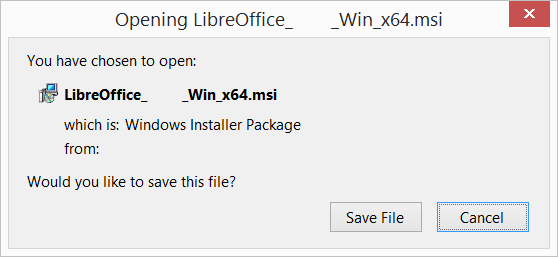
1.2 Install
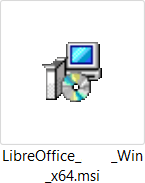
Open the folder where the Main Installer has been downloaded and double-click on the Installer.
1.3 Welcome
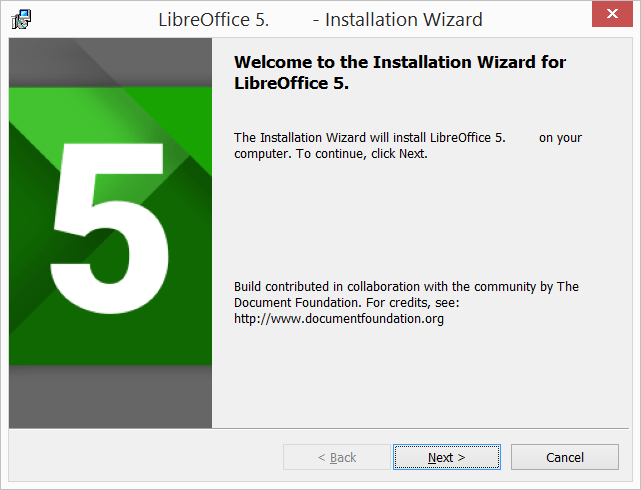
The Installation Wizard Welcome dialog box opens advising that the installation process is about to be started. Click “Next >”
1.4 Setup Type
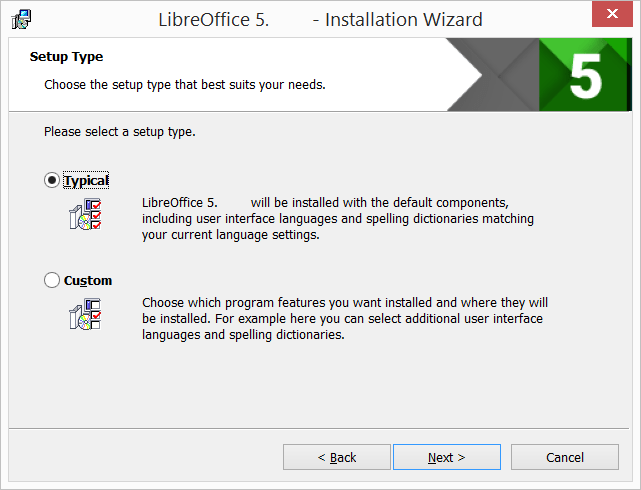
Another dialog box opens, giving you a choice whether you want a default installation, or whether you want to choose special locations and components. If you want a default installation, just press “Next >”. If you want to make special choices, click on “Custom” and then press “Next >”.
1.5 Custom Setup
The Custom Setup enables changes to the features that will be installed.
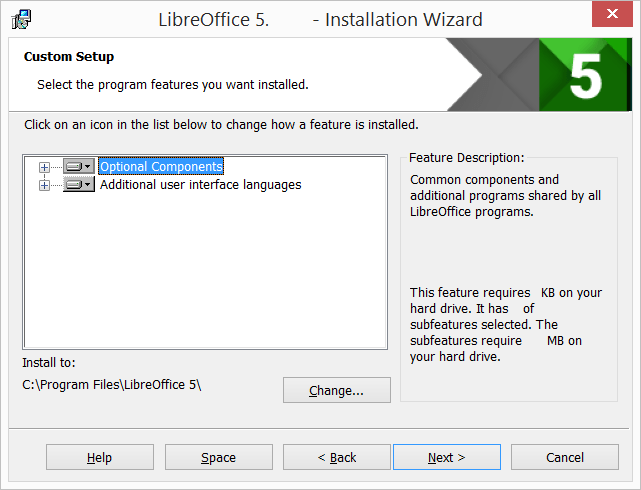
If you would like to install the spelling dictionaries, hyphenation rules, thesauri and grammar checkers:
- Click ⊞ Optional Components
- Click ⊞ Dictionaries
For instance, to install Hungarian, ensure that Hungarian has to its left the picture and “This feature will be installed on the local hard drive.”
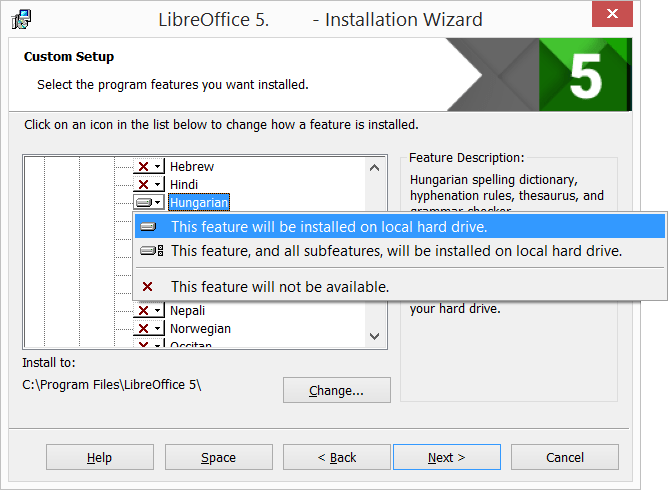
Once all required changes to the features have been completed, click “Next >”
1.6 File Type
Another dialog box opens, inviting you to choose whether to open Microsoft Office documents with LibreOffice. By default, this feature is not enabled. If you want LibreOffice to open Microsoft Office files (documents, spreadsheets and presentations), put a checkmark in all four checkboxes.
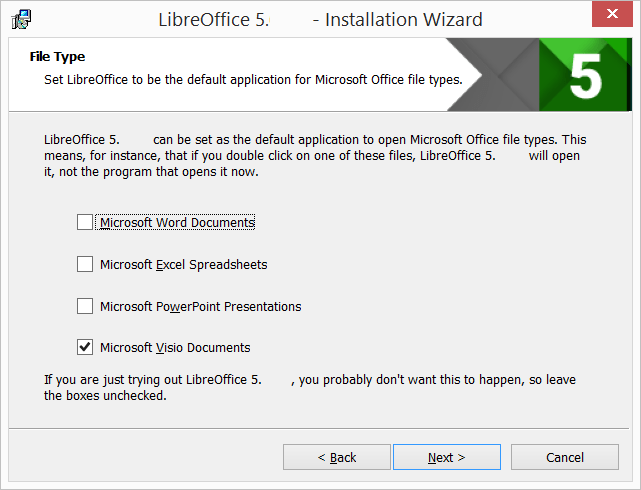
Click “Next >”
1.7 Shortcut and Load during system startup
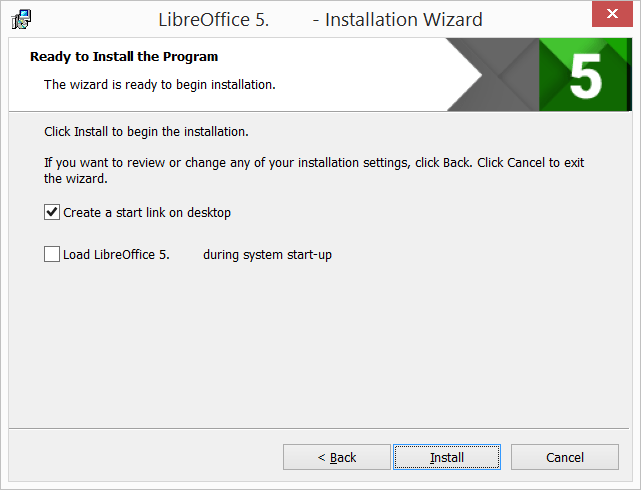
Another dialog box opens, asking you whether:
- A shortcut to open LibreOffice should be placed on your desktop. The default option is to create a shortcut.
- To load LibreOffice during system start-up.
After your selection press “Install”.
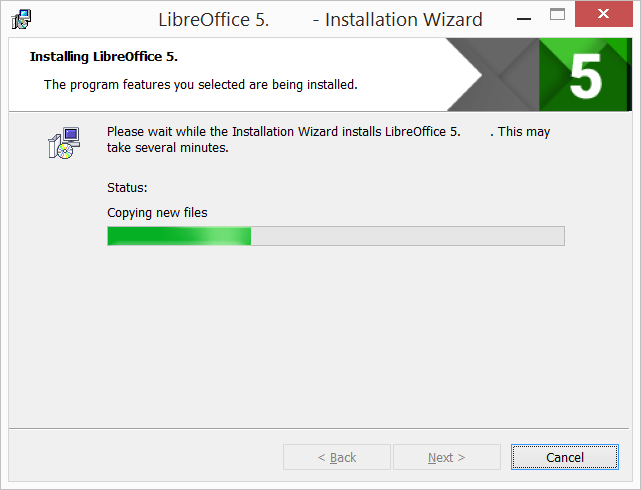
1.8 LibreOffice is Installing
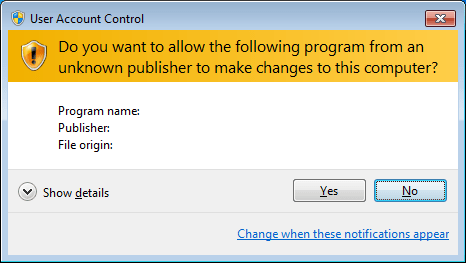
If the User Account Control dialog shows, click “Yes” to continue the installation.
1.9 LibreOffice Installation Completed
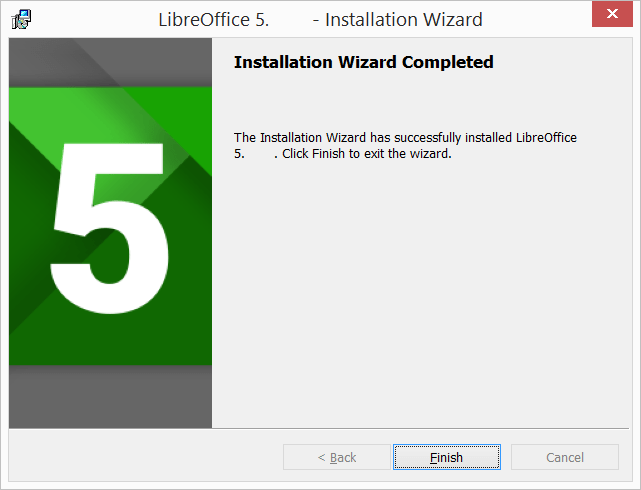
Click “Finish”.
2. Built-in Help
If you would like to use the built-in help, you will need to download and install the appropriate file.